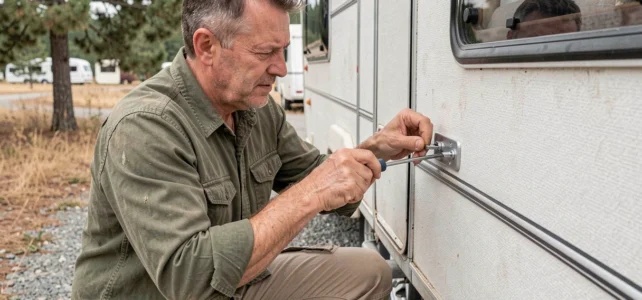
A caravan window that refuses to stay open or creaks with every adjustment is a moment we all know when ventilation becomes a headache. The caravan window stay, that articulated arm controlling the opening of the window, eventually wears out due to the vibrations of the road and repeated opening cycles.
Before ordering a new part or visiting a repair shop, a precise diagnosis and a few methodical actions are often enough to restore the mechanism to working order.
Diagnosis Before Dismantling: Identifying the Real Fault of the Stay
We tend to blame the stay as soon as a window gets stuck. In reality, the locking mechanism or latch may be the true culprit. A jammed locking mechanism prevents the window from pivoting freely, which overloads the stay and gives the impression that it is out of order.
To determine the issue, we manually open the window while holding the glass with one hand. If the stay unfolds without resistance but the window gets stuck when trying to close it, the problem is more likely with the latch or locking mechanism. If the articulated arm resists, gets stuck halfway, or no longer holds the window open, then the stay is indeed the problem.
Before attempting to repair the caravan window stay, we also test a simple point: apply a penetrating oil to the joints of the arm, let it sit for a few minutes, and then operate the mechanism several times. A targeted lubricant can sometimes prevent unnecessary disassembly. If the stay remains stuck after this attempt, we move on to mechanical intervention.
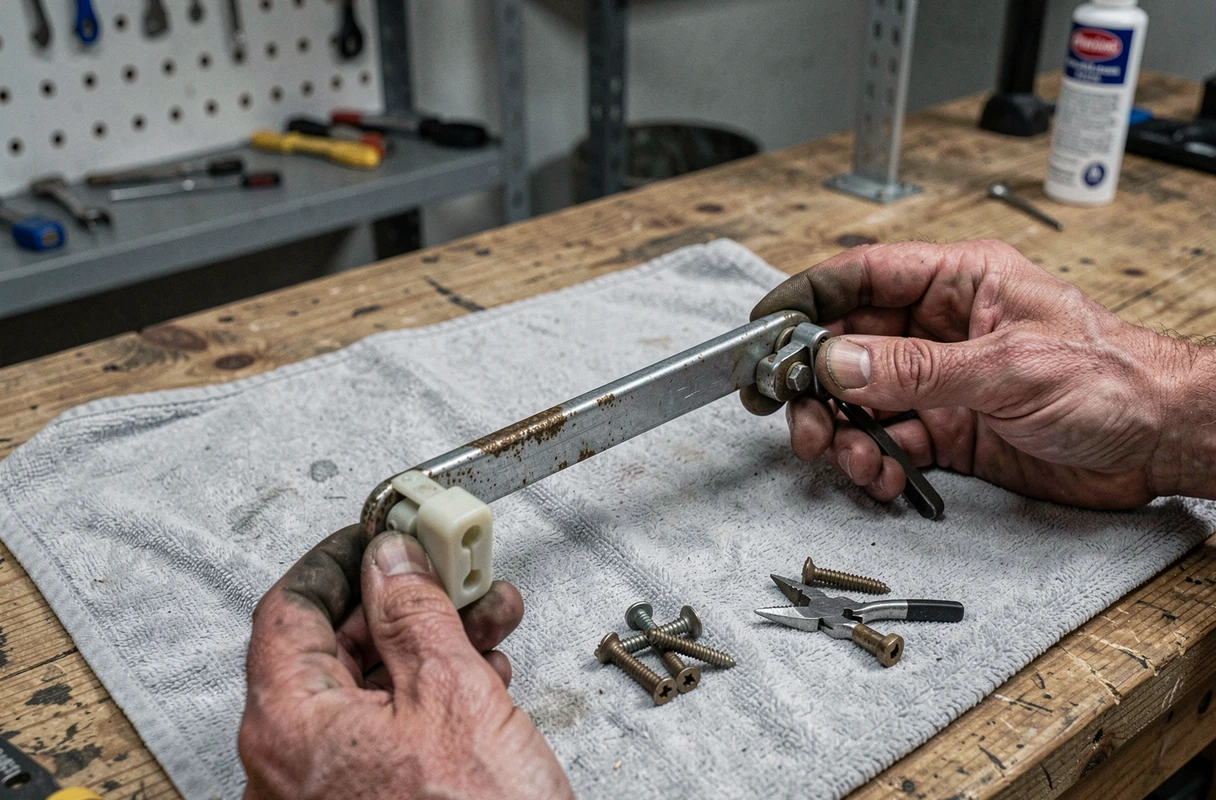
Clip-on or Screw-on Stay: Choosing the Right Replacement Part
Not all caravan window stays are fixed in the same way. There are two main families on the spare parts market.
- Clip-on stays, available in standardized format (the common length is around 280 mm per arm), can be replaced without touching the window structure. You unclip the old one and clip the new one onto the same support. This is the simplest case.
- Screw-on stays, often found on Seitz windows and older models, require removing the fixing screws on both the frame and the glass side. On double glazing, the support screwed onto the glass is usually factory-installed, and removing it requires caution to avoid damaging the sealing gasket.
- Ratchet stays, common on bathroom windows, offer predefined opening positions. Their replacement follows the same logic as screw-on models, but you need to check that the new stay offers the same number of notches.
Before ordering, note the length of the arm, the type of fixing (clip or screw), and the brand of the window. Feedback varies on compatibility between brands, so it’s better to measure than to rely on a generic description.
Removing and Replacing the Stay Step by Step
Work with the window open, supported by a temporary support (a piece of wood or a foam wedge between the glass and the frame). The goal is to prevent the window from falling during handling.
Removing the Old Stay
For a clip-on model, locate the locking tabs at each end of the arm. A flat screwdriver is enough to lever and release the clip. Then pull the stay towards you.
For a screw-on model, first unscrew the fixings on the frame side, then those on the glass side. It is recommended to keep the original screws: the replacement screws provided with new stays do not always match the existing threading.
Installing the New Window Stay
Position the new arm starting with the fixing point on the glass side, then connect the other end to the frame. With each screw tightened or clip engaged, operate the stay to check that the movement remains smooth. Making micro-adjustments prevents misalignment of the window as a whole.
Once both stays are in place (they always work in pairs, left and right), remove the wedge and test several complete opening-closing cycles. The window should stay open without slipping and close without forcing.
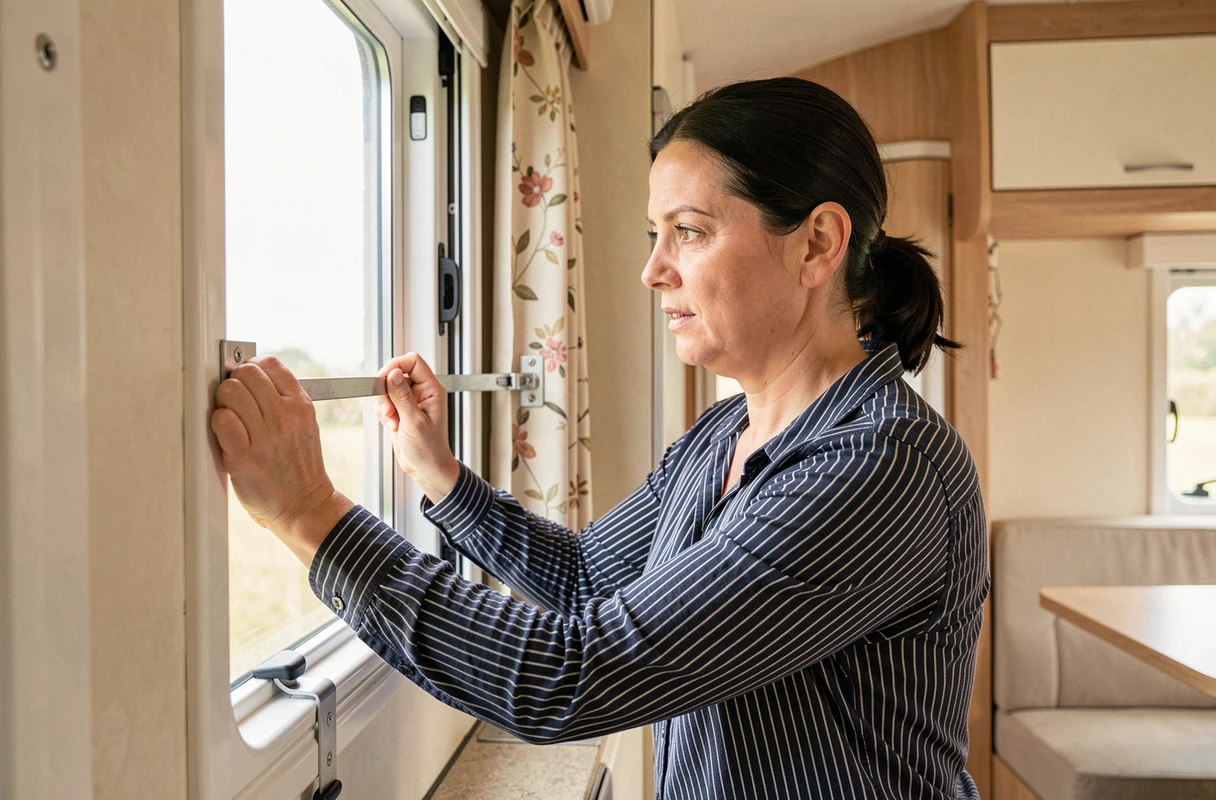
Maintenance of the Caravan Stay: Preventing the Next Breakdown
A window stay does not require heavy maintenance, but two regular actions can change its lifespan.
At the beginning and end of the season, apply a thin layer of silicone lubricant to the joints and pivot points. Avoid thick grease that collects dust and eventually jams the mechanism. Silicone stays clean and withstands the usual temperature variations in a caravan.
Also check the condition of the window seal around the frame. A degraded seal allows moisture to enter, which corrodes the stay’s axes. Replacing a seal is inexpensive and protects the entire opening mechanism.
Lastly, keep an eye on the tightness of the fixing screws. The vibrations from the road gradually loosen the fixings, especially on screw-on models. A quick check with a screwdriver before each long trip is enough to prevent mechanical play that prematurely wears out the articulated arms.
The majority of caravan window stay failures can be resolved with a methodical diagnosis and a well-prepared replacement. The most common pitfall is ordering the wrong part: checking the type of fixing and the length of the arm before purchase prevents a frustrating back-and-forth with the supplier.