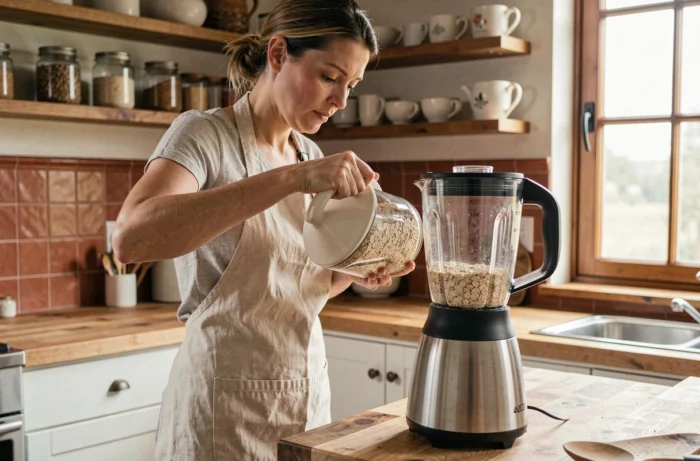
Blended oats completely change their role in the kitchen. Transforming these flakes into fine powder or semi-coarse texture opens up possibilities that whole flakes do not allow: lump-free smoothies, light pancake batter, homemade flour for fluffy cakes. The result depends less on the recipe than on how you blend, and a few simple adjustments make all the difference.
Why the type of blender makes all the difference for oats
Have you ever ended up with a mix that is half powdery and half grainy after blending your oats? The problem rarely comes from the blending time. It comes from the equipment.
A classic star blade blender quickly grinds the flakes, but the distribution in the bowl creates dead zones. The flakes at the bottom become fine powder while those at the top remain intact. An electric coffee grinder gives a more uniform result for small quantities, but it overheats quickly.
The food processor with its S-blade offers a good compromise. Its wide bowl allows the flakes to circulate more. For regular use, as detailed in Soyez Sport’s tips, the choice of equipment directly affects the consistency of the grind.
Blending in small quantities remains the most effective rule. A bowl filled halfway gives a much more uniform result than a full bowl. If your blender has a capacity of one liter, do not exceed half with dry flakes.
Blending oats dry: the sifting technique
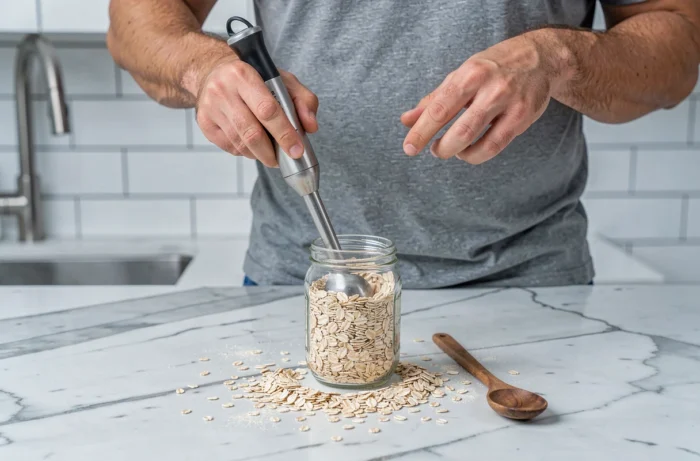
Making homemade oat flour seems simple: pour in the flakes, press the button, and it’s ready. In practice, the raw result almost always contains irregular particles. Some are as fine as flour, while others remain the size of half a flake.
The solution involves two passes. Blend once for a few seconds, then sift over a mixing bowl. The pieces that remain in the sieve go back into the blender for a second cycle. This method produces a much more consistent powder, suitable for pancakes or pastries.
When to stop blending
A common trap is blending too long continuously. The oats heat up from the blades, which can make them slightly sticky and compact the powder at the bottom of the bowl. Short bursts of two to three seconds, interspersed with pauses, yield better results than a long cycle.
Between each burst, shake the bowl or use a spatula to redistribute the flakes. This simple habit prevents the infamous layer of agglomerated powder under the blades.
Blended oats in liquid: the right order to avoid lumps
For smoothies or blended porridge, the order of incorporation radically changes the final texture. Pouring the flakes in first and then adding the liquid on top creates a compact mass at the bottom, difficult to dislodge even at full power.
- First, pour the liquid (milk, water, plant-based drink) into the blender, then add the flakes on top. The blades pull the liquid first and gradually disperse the flakes.
- Let the flakes sit in the liquid for two to three minutes before blending. This short soaking softens the surface of the flake and reduces the splinters of dry particles in the drink.
- Add fruits, honey, or other ingredients after a short initial blending of the flakes in the liquid. Simultaneously adding all ingredients overloads the blender and leaves chunks.
A brief soaking even changes the consistency of the final result. The flake absorbs liquid and breaks down more easily. The smoothie gains creaminess without needing to blend for long.
Homemade oat flour: storage and limits
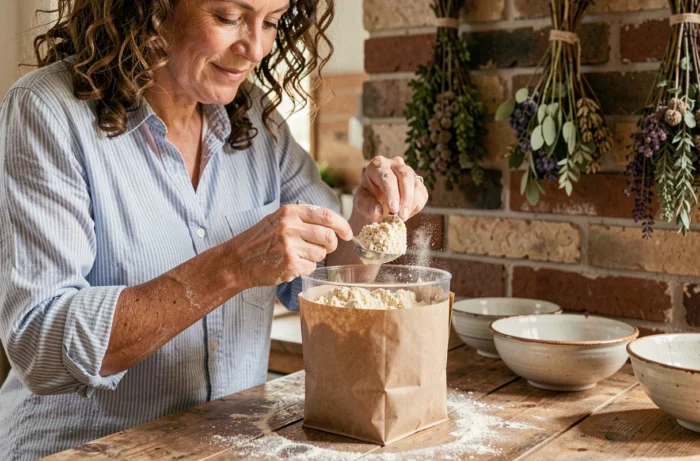
Whole flakes keep well in a dry cupboard. Once ground, the situation changes. Grinding exposes a much larger surface area to air and moisture. Homemade oat flour does not keep as well as whole flakes.
To limit oxidation, store the flour in an airtight jar and consume it within a few days. In the refrigerator, it lasts a bit longer. Preparing the exact amount for each recipe remains the best approach.
Fine flakes or thick flakes: the choice before blending
Whole grain oats (thick, slow-cooking) contain tougher pieces. They require longer blending and produce a less fine flour. Instant oats, already precooked and flattened, break down into powder very quickly.
For pastry flour, instant oats yield a result closer to wheat flour. For a deliberately grainy texture (crumble, patties), briefly blended thick flakes provide crunch without being unpleasant in the mouth.
Adjusting the texture according to the recipe: three concrete guidelines
- Smoothie or protein drink: fine grind, liquid poured first, soaking for a few minutes. The result should flow without leaving particles on the tongue.
- Pancakes or cakes: sifted flour after double blending. The batter should not contain visible chunks, or it will cook unevenly.
- Express porridge or blended overnight oats: deliberately coarse grind, a single short cycle. The remaining pieces swell in the liquid and create an interesting texture between smooth porridge and classic porridge.
The same bag of oats can yield three very different results depending on the blending duration and the desired fineness. Before starting the blender, decide on the target texture: it dictates the number of pulses, not the other way around.
One last often-overlooked point: clean the blender immediately after dry blending. Oat powder sticks to the walls and seals as soon as it comes into contact with residual moisture. A quick rinse with warm water and a short empty pulse are enough to keep the device clean for the next use.