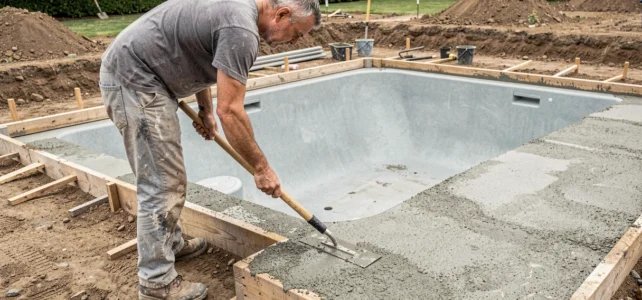
The concrete belt of a shell pool does not tolerate approximation. A defect in reinforcement, poorly positioned formwork, or underdosed concrete, and the coping cracks in less than two seasons. Here we detail the technical points that make the difference between a durable belt and a site that needs to be redone.
Bonding shell-belt: drilling the lip and anchoring the steels
The debate between simple drilling of the lip and through drilling of the lip + box comes up on every site. Through drilling is the only method that truly bonds the belt to the basin. An 8mm rebar only passed through the lip (a few millimeters thick) does not take any lateral load. The connection is then limited to a fragile point of contact.
The reliable technique consists of simultaneously drilling the upper lip and the underlying box, then threading an 8mm rebar through both openings. A 3-strand rebar interposed between the shell and the first 8mm rebar locks the whole assembly. The spacing between each anchoring point depends on the perimeter of the basin, but we recommend a regular spacing tight enough to ensure uniform load transfer.
The main risk remains the accidental drilling of the shell itself. A depth template fixed on the drill bit avoids any unpleasant surprises. The diameter of the drill bit must match exactly the 8mm rebar, without excessive play that would create a weak point in the gelcoat.
A comprehensive guide for creating a concrete belt for a shell pool details the drilling variations according to shell manufacturers.
Formwork and reference level around the basin
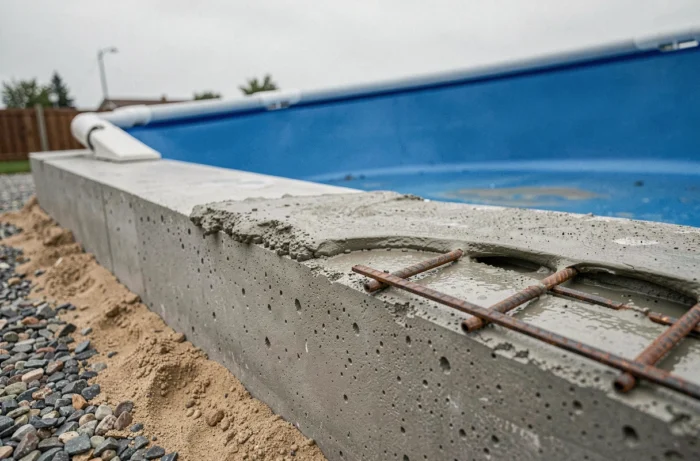
The peripheral formwork determines the final flatness of the coping. Any leveling error affects the installation of the coping with no possibility of correction. We systematically install the outer formwork first, aligned with a laser level on the upper edge of the lip.
The inner formwork (on the shell side) rests directly against the lip. The total width of the belt depends on the chosen coping, but it must always extend a few centimeters beyond the base of the coping on each side to ensure proper load transfer.
Managing corners and sealed fittings
The corners of the basin concentrate mechanical stresses. The reinforcement is strengthened there by return angles, with sufficient steel overlap to prevent any crack initiation. Connecting pins link the longitudinal rebars to the transverse rebars around the entire perimeter.
The skimmer, return jets, and vacuum inlet pass through the belt. We formwork around these fittings without burying them in concrete: a minimal expansion gap between the fitting and the concrete avoids unwanted stresses during thermal cycles.
Concrete mixing and vibration: common errors on site
A pool belt concrete is not a standard foundation concrete. The cement dosage must be sufficiently high to ensure impermeability and resistance to chlorides. A concrete that is too lean crumbles upon contact with chlorinated water that rises by capillarity from the backfill.
The consistency of the concrete during pouring is a critical point. Concrete that is too fluid segregates in the formwork and creates stone nests at the bottom. Concrete that is too stiff does not properly fill the areas around the anchoring rebars. We favor a plastic consistency, vibrated with a needle along the entire length of the formwork.
- Vibrate with short passes by moving the needle every 30 to 40 cm, without lingering at the same point to avoid displacing the fines
- Pour continuously around the entire perimeter if possible, to avoid concrete joints that create weak points
- Level the surface at the formwork immediately after vibration, before the setting begins
- Protect the fresh belt from direct sunlight and regularly moisten it during the first days of curing
A poorly treated concrete joint (unrepaired surface, no cement slurry) becomes a preferential cracking zone. For a long basin, it is better to organize the delivery of concrete to pour in one go.
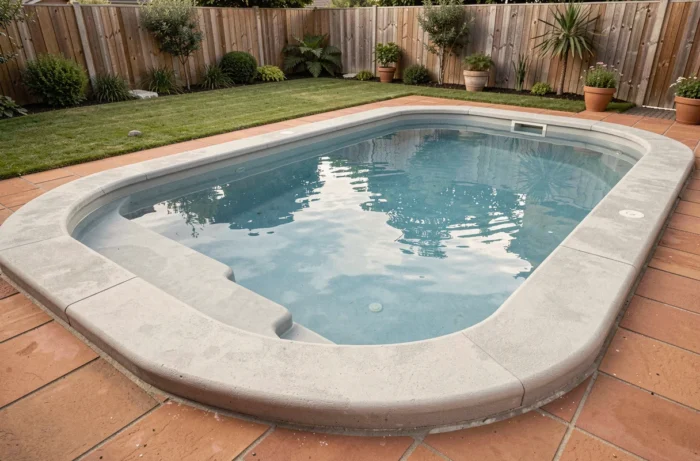
Ten-year guarantee and qualification of the belt as a structure
Since a ruling by the Court of Cassation on March 21, 2024, equipment elements simply added to an existing structure no longer automatically fall under the ten-year guarantee. The concrete belt must be qualified as a structural work to benefit from the ten-year guarantee.
In practice, a belt poured after the acceptance of the basin and not integrated into the initial construction contract risks being considered a simple equipment element. Cracks or subsidence would then only be covered by the two-year perfect completion guarantee or common law contractual liability.
For self-builders, the situation is even more delicate: without the intervention of a professional insured under the ten-year guarantee, there is no insurance recourse in case of structural disorder. We observe that experts appointed by insurers systematically check the nature of the bond between the belt and the basin (anchoring in the shell or simple support) to determine whether the whole constitutes a unique structure.
Contractual precautions to include in the quote
- Explicitly list the concrete belt as a line item in the construction contract, and not as an ancillary service
- Require the ten-year insurance certificate from the pool builder covering the peripheral masonry works
- Keep delivery slips for the concrete and photos of the reinforcement before pouring, which serve as evidence in case of inspection
The legal qualification of the belt is not an administrative detail. It determines the duration and extent of coverage in case of a disaster. A subsidence of the belt that disassociates the coping and compromises the watertightness of the basin falls under the ten-year guarantee only if the belt is recognized as an integral part of the pool structure.
The reinforcement, formwork, and concrete represent only a fraction of the total cost of a shell pool. Neglecting any of these three components turns the belt into a weak link in the installation, with much more costly repairs than the initial investment.